In the competitive world of Amazon, having high-quality product images can make or break your sales. A professional product photographer for Amazon can help you create stunning visuals that highlight your products’ best features. In this post, we’ll explore essential equipment, lighting techniques, and editing tips to ensure your product photos stand out.
With more shoppers making decisions based on visuals, investing in top-notch photography is crucial. Whether you’re looking to hire a professional or take a DIY approach, understanding the basics can significantly impact your product’s performance. Follow along as we dive into key strategies for optimizing your Amazon product photos.
Table of Contents
Why High-Quality Photos Matter
High-quality photos are crucial in the online marketplace, especially on Amazon, where potential buyers cannot physically inspect the products. When shoppers browse through listings, images are one of the first elements they notice. Clear, detailed, and visually appealing photos can significantly influence purchasing decisions, as they provide a sense of trust and professionalism.
On Amazon, the competition is fierce, and having superior images can make your product stand out. High-resolution images help customers see every detail, reducing uncertainty about the product’s quality and appearance. This clarity can reduce returns and increase customer satisfaction.
Moreover, Amazon has specific requirements for product photos and gives preference to listings with high-quality visuals. These images help improve your product’s visibility and ranking in search results. Investing in top-notch photography can enhance your conversion rates, leading to higher sales volumes and better overall performance on the platform.
Essential Equipment for Amazon Photography
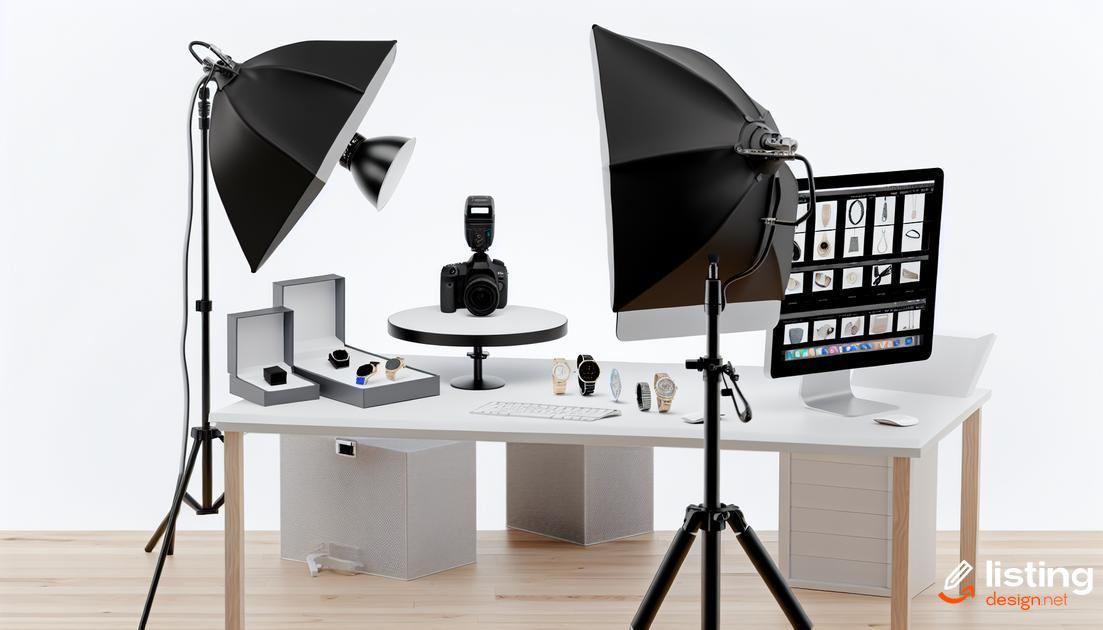
For Amazon photography, having the right equipment is crucial. A good camera is the foundation. While many types of cameras are available, a DSLR or mirrorless camera is recommended due to their high image quality and manual controls.
Next, consider the lens. A macro lens is perfect for capturing intricate details, while a wide-angle lens works well for larger products. Having both options allows you to adapt to various product sizes and types.
Lighting is paramount in product photography. Invest in a set of studio lights. Softbox lighting provides an even, diffused light that minimizes harsh shadows and highlights the product effectively. Reflectors can also help bounce light to fill in darker areas.
A tripod is essential to keep your camera steady and maintain consistency across photos. Look for a sturdy tripod with adjustable height and a ball head for easy maneuvering.
Along with physical equipment, editing software like Adobe Photoshop or Lightroom is vital for post-processing. These tools allow you to adjust exposure, contrast, and color, ensuring your images meet Amazon’s standards and stand out to potential buyers.
Don’t forget about storage. High-resolution images take up considerable space, so invest in high-capacity memory cards and external hard drives to keep your files organized and accessible.
Choosing the Right Background
When it comes to product photography for Amazon, the background plays a critical role in highlighting the product and ensuring it stands out. A clean, uncluttered background helps the item shine without distractions. Opt for white or neutral-colored backgrounds as they not only meet Amazon’s guidelines but also provide a professional look.
Using a lightbox can be particularly effective in creating a consistent background. It provides even lighting and eliminates shadows, making the product the focal point. If a lightbox is not available, a plain white sheet or poster board can serve as a good alternative.
Consider the nature of the product when choosing backgrounds. For instance, jewelry could benefit from a slightly textured surface to add depth, whereas electronics might look best against a smooth, matte finish. Always aim to create a background that complements and enhances the product rather than overpowering it.
Additionally, avoid using busy or vibrant patterns as they can distract potential buyers and make it difficult for them to focus on the item. The goal is to ensure the product is the star of the image, thereby making it more appealing and likely to boost sales on Amazon.
Importance of Lighting in Product Photography
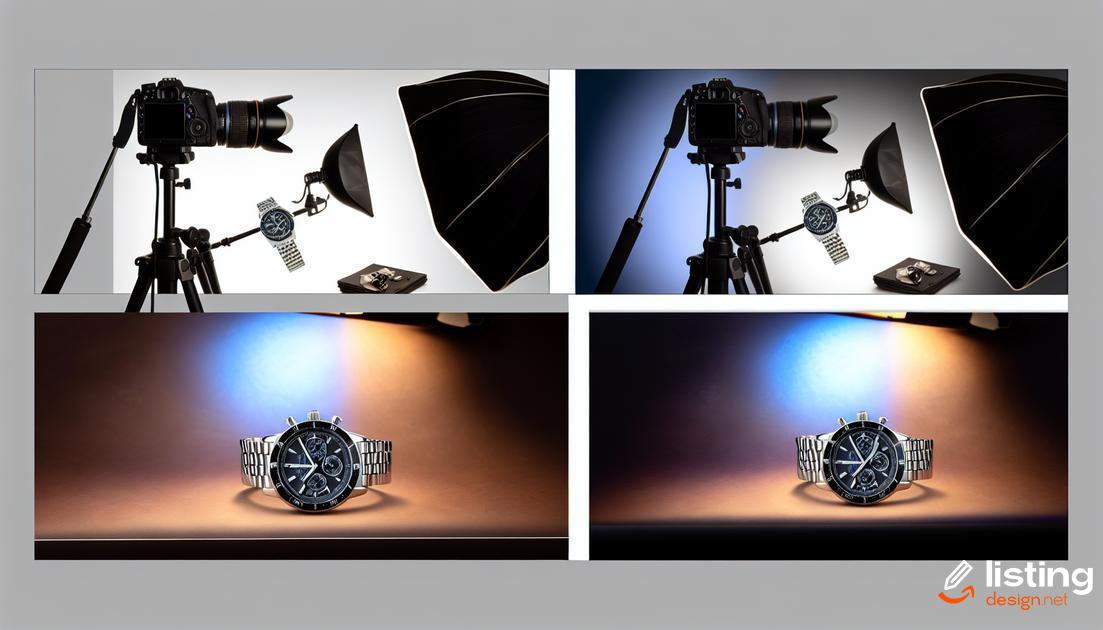
In product photography, lighting is crucial. Proper lighting can make or break your shot. It highlights the product’s features and details. Natural light is often the best choice. It provides a soft and flattering look. However, using studio lights gives you control over the intensity and direction of light. This can eliminate unwanted shadows.
Lighting also affects the colors in your photos. Poor lighting can distort colors, making them look different than in real life. This can lead to dissatisfied customers and returns. Use consistent lighting to ensure that your images match the product’s true colors. Experiment with different angles and light sources. Find what works best for your product.
Reflection and glare are common issues. They can distract from the product and make the photo look unprofessional. Use diffusers and reflectors to soften the light and reduce glare. Softboxes can create even lighting and minimize harsh shadows.
For products with glossy surfaces, lighting needs extra attention. Aim for balanced lighting to showcase the shine without overexposure. Positioning your lights correctly can highlight the product’s texture and details.
Lighting setups vary depending on the product. Small items may need macro lighting to capture fine details. Larger products may benefit from multiple light sources to cover all angles. Test different setups to find the most effective one.
How to Showcase Product Features
To effectively showcase product features, focus on highlighting key aspects that make your product stand out. Use close-up shots to emphasize unique attributes, such as textures, materials, or special functionalities. Incorporate annotated images with descriptive text overlays to explain complex features clearly.
Implement 360-degree views or interactive images to allow customers to explore the product from all angles, enhancing their understanding and trust in the product. Ensure that the features you showcase align with what your target audience values most, whether it’s durability, style, or innovative technology.
Additionally, use lifestyle images to demonstrate the product in real-world scenarios, showing potential customers how the product can fit into their lives. This approach not only highlights features but also provides context, making the product more relatable and desirable.
Remember to maintain consistency in your visual presentation by using a uniform style and quality across all images. A coherent visual strategy reinforces your brand and creates a professional look that can boost customer confidence and drive sales.
Editing Tips for Amazon Product Photos
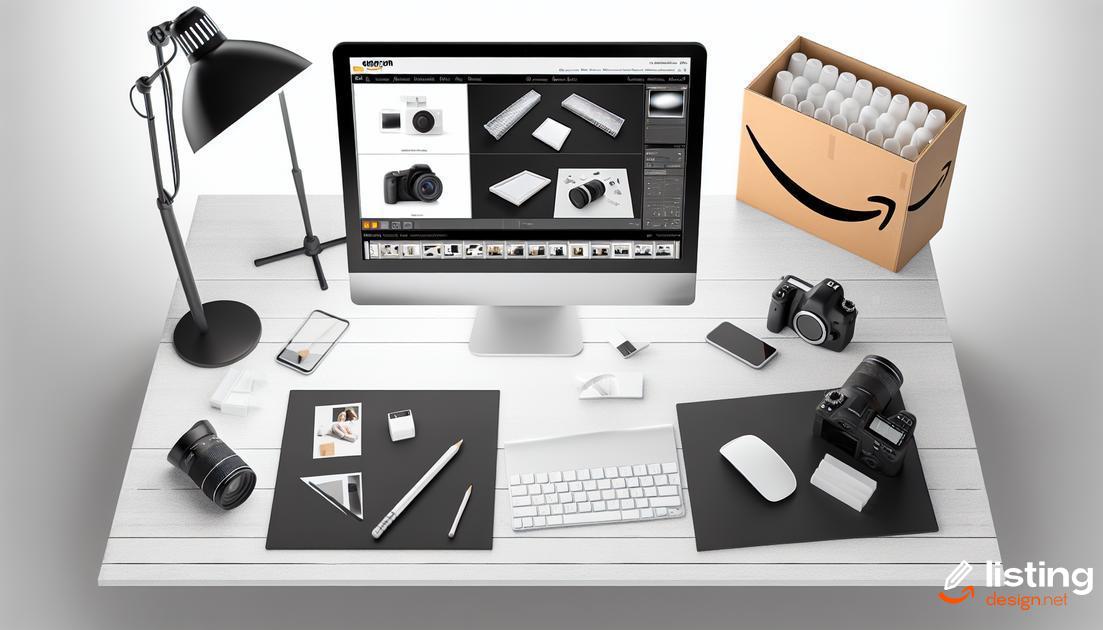
When it comes to editing your Amazon product photos, precision and attention to detail are key. Start by ensuring the lighting and exposure are balanced. Use tools to adjust brightness, contrast, and color levels to make your product visually appealing.
Next, remove any background imperfections or unwanted objects using photo editing software such as Adobe Photoshop or Lightroom. A clean, white background often works best for Amazon listings as it keeps the focus on the product.
Highlight essential features of your product by sharpening its edges and enhancing important details. Utilize cropping to remove excess space and keep the focus on your product. Remember to maintain aspect ratio guidelines set by Amazon to avoid any compliance issues.
Don’t underestimate the power of consistent photo dimensions and alignment. Maintaining uniformity across all images in your listing creates a professional look and helps in building customer trust.
Compliance with Amazon Photo Requirements
When shooting product photos for Amazon, adhering to Amazon’s photo requirements is crucial. Following these guidelines ensures your listings are not only compliant but also optimized for maximum visibility and appeal. Amazon recommends that product images be at least 1000 pixels on the longest side to enable their zoom function. This helps customers see details, which can significantly increase the likelihood of a sale.
The primary product image, also known as the main image, needs to have a pure white background (RGB 255, 255, 255) and should occupy at least 85% of the frame. This gives a clean and professional look to your product page. Other images, called secondary images, can and should feature different angles and close-up shots to provide more context to potential buyers.
Amazon also stipulates that images must be in JPEG (.jpg), TIFF (.tif), or PNG (.png) format, with .jpg being the most commonly used due to its balance of quality and file size. Ensure your images do not include any offensive or prohibited content, and avoid adding extra elements like watermarks or borders, as these are not allowed and can lead to image rejection.
Compliance with these photo requirements not only safeguards your listings from being taken down but also enhances the customer experience, boosting the chances of converting viewers into buyers.
Using Lifestyle Shots to Attract Buyers

One of the most effective ways to capture the attention of potential buyers is by using lifestyle shots. These images show your product in real-life scenarios, helping customers visualize how they might use it in their daily lives. Unlike plain studio shots, lifestyle photography provides context, making the product more relatable and appealing.
Choose relatable settings: For example, if you’re selling kitchenware, show your items being used in a kitchen setting with food being prepared. This not only highlights the functionality but also gives a sense of scale and usability.
Incorporate diverse models: Representation matters. Including people of different ages, ethnicities, and backgrounds can significantly broaden your target audience. Displaying diversity in your product use cases can make your brand more inclusive.
Highlight product benefits: Demonstrate the unique selling points of your product through lifestyle shots. For instance, if your product is a durable water bottle, show it being used during a hike or gym session to emphasize its durability and convenience.
Keep it authentic: Authenticity in your photos builds trust. Avoid overly staged environments and opt for natural settings and candid shots. Customers are more likely to engage with images that feel genuine and approachable.
Incorporate these strategies effectively to make your Amazon listings more attractive and increase the chances of turning visitors into buyers. Lifestyle shots are a powerful tool in any product photographer’s arsenal, providing a tangible connection between the product and the customer.
Hiring a Professional Photographer
To capture stunning images that boost your sales on Amazon, hiring a professional photographer can make a significant difference. Professionals are equipped with the right skills and advanced equipment to ensure your products are presented in the best possible light.
A professional photographer understands the importance of lighting, composition, and angles, allowing them to showcase your product’s features in a way that appeals to potential buyers. They can also provide valuable insights and suggestions on how to enhance your product’s visual appeal.
Moreover, professional photographers are well-versed in Amazon’s photo requirements, ensuring that your images meet all the guidelines and avoid any compliance issues. This attention to detail helps to avoid setbacks and ensures a seamless uploading process.
Investing in a professional not only saves time but also helps to create a consistent and high-quality visual brand for your Amazon listings. This consistency can lead to increased buyer confidence and higher conversion rates, ultimately boosting your sales.
DIY Product Photography Tips

Creating professional-grade product photos for Amazon is within reach, even if you are not a professional photographer. Start by setting up a dedicated space for your photography to avoid interruptions. Natural light is often the best choice, but a set of lightbox kits can work wonders, too. Cameras don’t need to be expensive; modern smartphones are usually sufficient, though a tripod is essential for keeping shots steady. Use a clean, neutral background to make your products stand out, and consider white or light gray backdrops for the best results.
When positioning products, focus on multiple angles. Capture front, side, back, and close-up shots to provide shoppers with a comprehensive view. Highlight unique features by zooming in on details like textures or special functionalities. Consistency across images creates a professional look, so try to maintain the same lighting and angles for all products.
Utilize basic editing tools to enhance your photos. Crop out unnecessary parts, adjust brightness and contrast, and ensure the colors match the actual product. Simple editing software like Adobe Lightroom or even in-built smartphone editors can significantly improve the final look. Avoid heavy filters and keep the editing natural to ensure authenticity.
Common Mistakes to Avoid
One common mistake is ignoring light sources. Poor lighting can make products appear dull and unappealing. Always ensure your lighting is bright but natural.
Another frequent error is using cluttered backgrounds. A busy background distracts from the product itself. Opt for clean, simple backgrounds to highlight your item.
Avoid overediting your photos. While some adjustments are necessary, overdoing it can make the product look different from what it actually is, leading to disappointed customers and increased returns.
It’s easy to overlook the importance of angles. Take shots from multiple angles to give viewers a comprehensive view of the product. This helps in building trust and reducing return rates.
Skipping lifestyle shots is another mistake. Customers want to see how the product looks in a real-world setting. Including these types of images can increase buyer confidence.
Lastly, be mindful of compliance with Amazon’s Photo Requirements. Failure to adhere to their guidelines can result in your listing being suspended.
Maximizing Your Investment in Product Photography

Optimizing Your Product Photography Budget
To achieve maximum return on investment, focus on several key areas. First, allocate funds effectively by choosing the right equipment and tools. Prioritize a high-quality camera, appropriate lenses, and reliable lighting setups. Renting equipment can be a cost-effective option.
Batch Shooting for Efficiency
Plan your sessions to capture multiple products in one go. This reduces setup time and ensures consistency. Group similar items together and create a shot list to streamline the process.
Utilize Editing Software
Invest in proficient editing software like Adobe Photoshop or Lightroom. Editing can refine images, correct flaws, and enhance visual appeal. Consider outsourcing post-processing to save time and ensure professional quality.
Measure and Analyze
Track the performance of your product images by monitoring sales metrics and customer feedback. Use this data to refine your photography strategy and focus on what resonates most with your audience.


